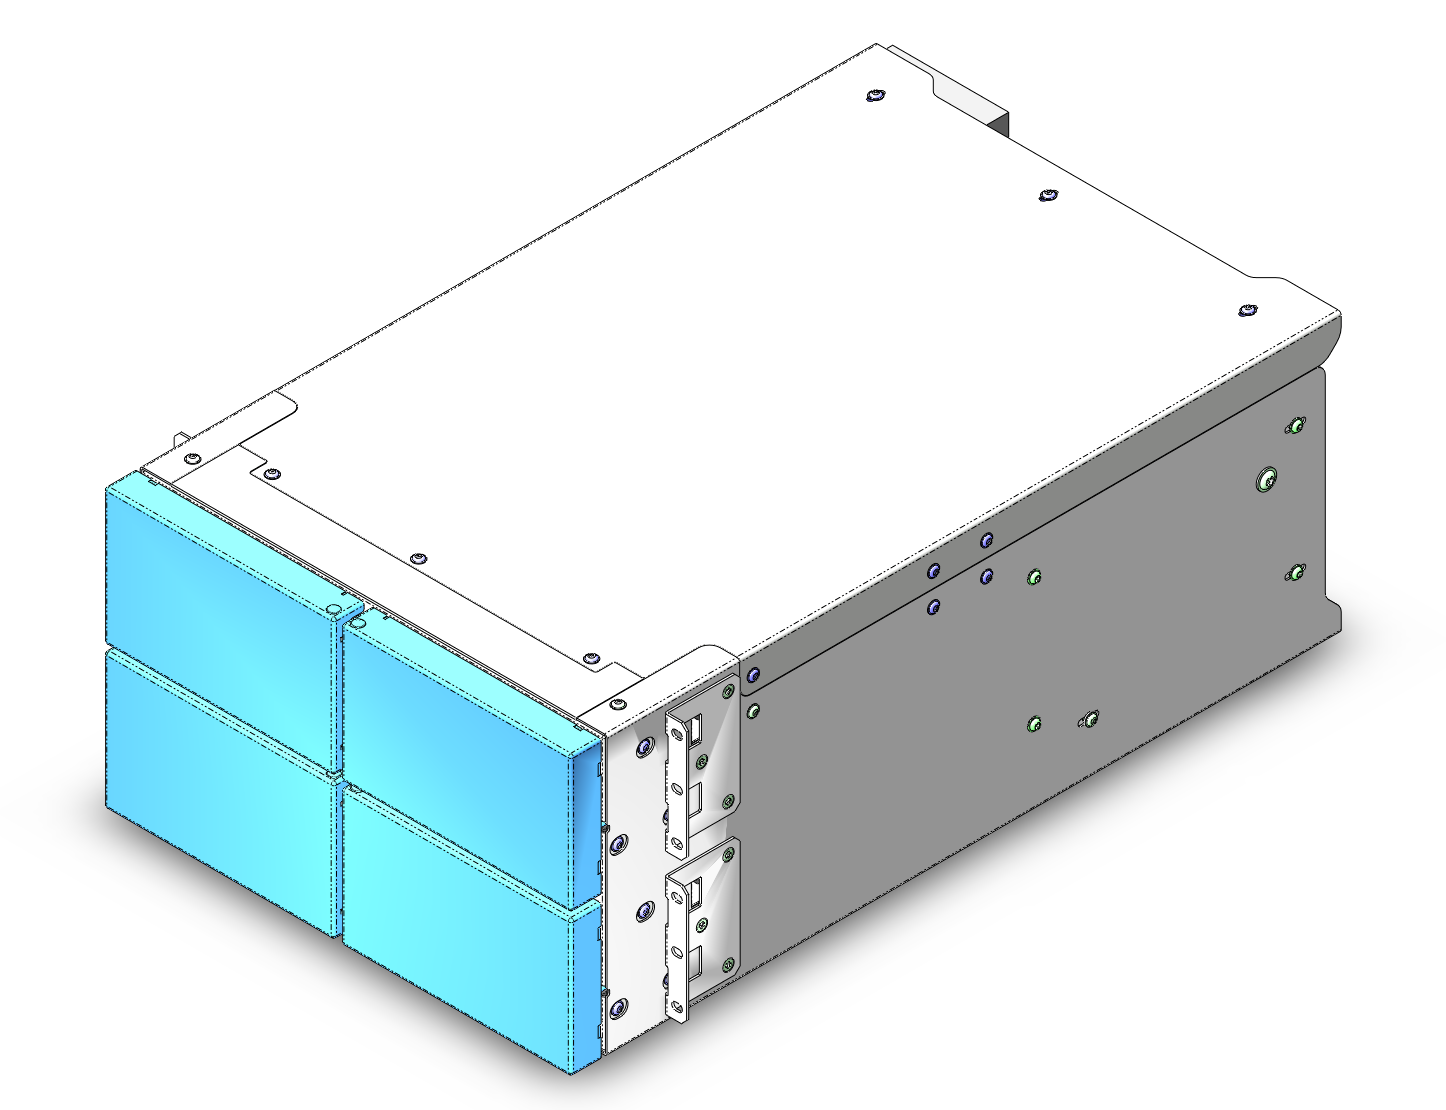
Door replacement in the Charging Module
Door Replacement Procedure in a Module Removed from the Cabinet
In case door replacement is required, the procedure described in this document must be followed. This document describes the procedure for replacing doors in a module that has been removed from the cabinet.
Steps related to cabinet mounting and gasket installation of the module have been intentionally omitted.
Tools and Materials
Tools:
Flat, thin screwdriver or utility knife
Flat-nose pliers
Slot-opening tool
Materials:
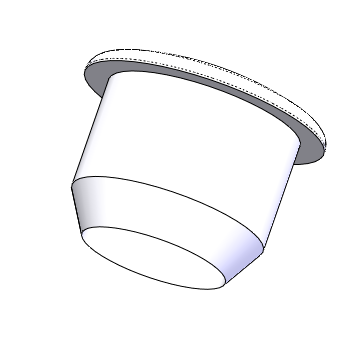
00002643A – BLIND PLUG D8
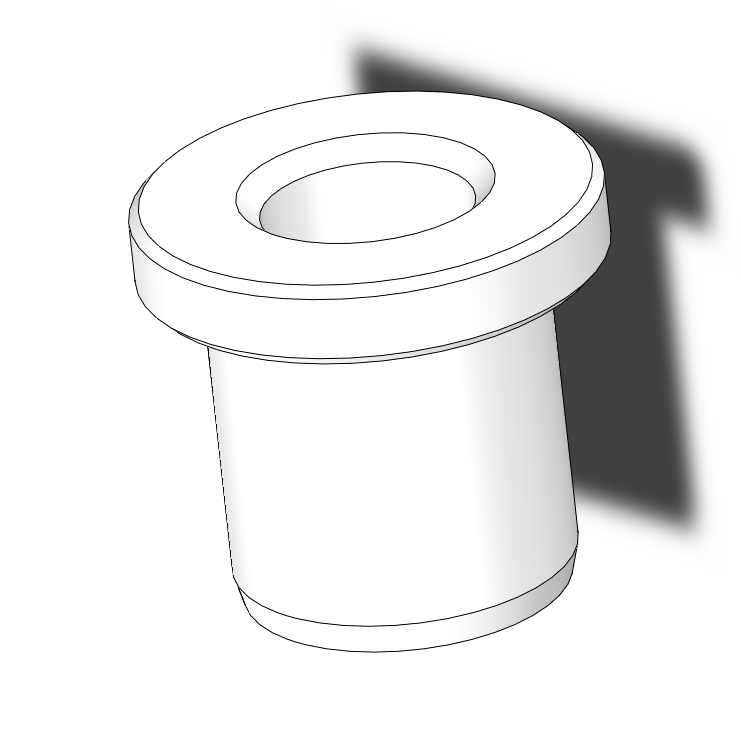
00002642A – SKIFFY SLIDE BEARING D5
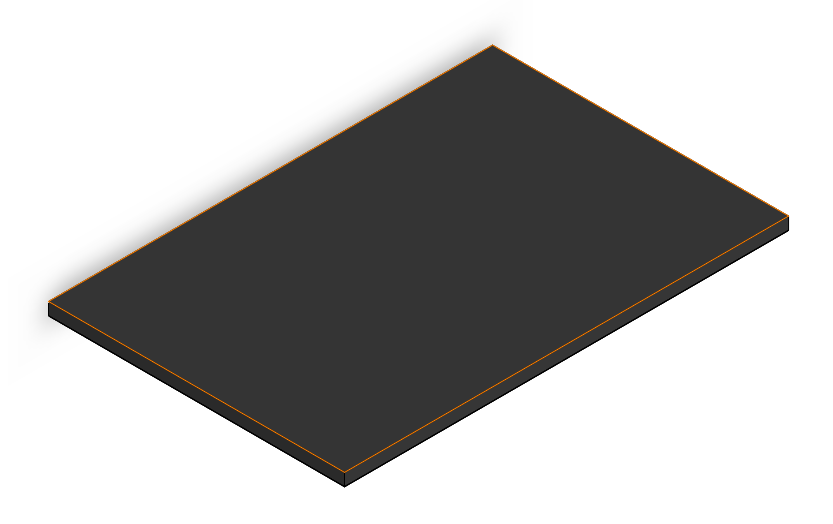
00002696A – SEALING DOOR SMALL SL
00002662A – HINGE PIN D5

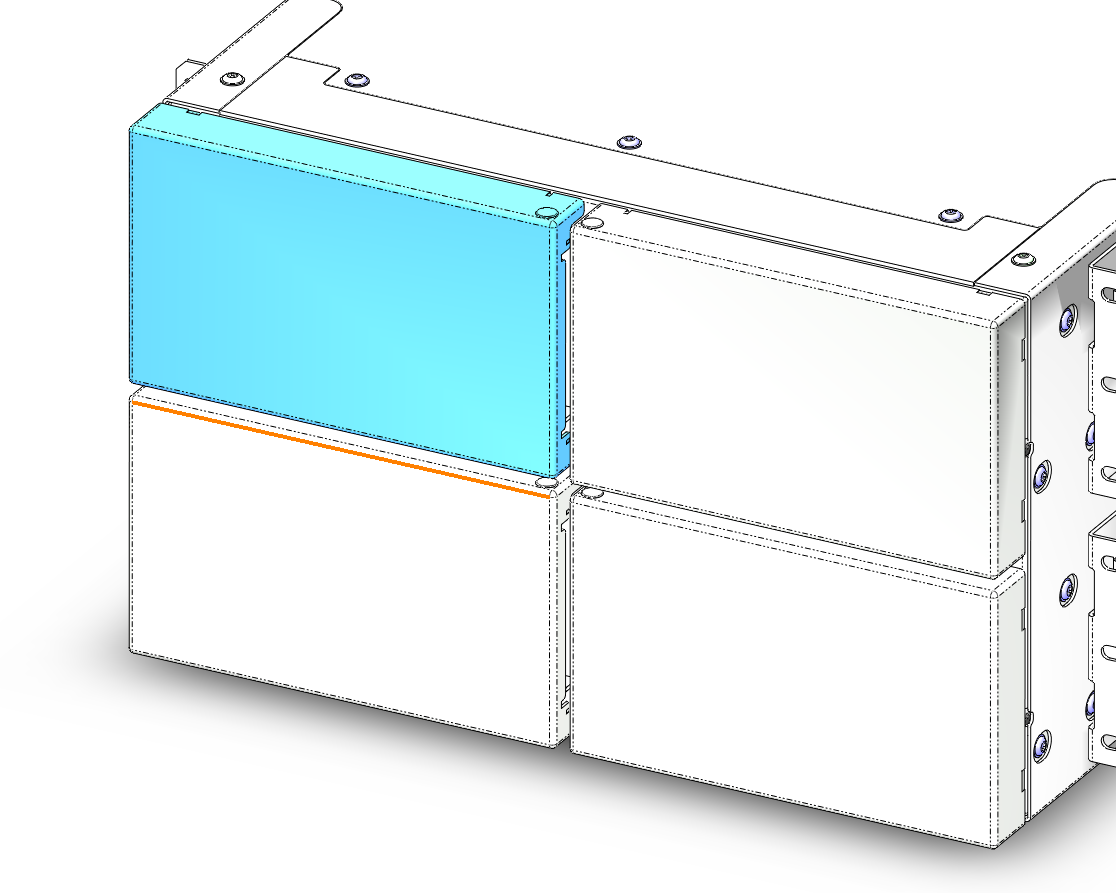
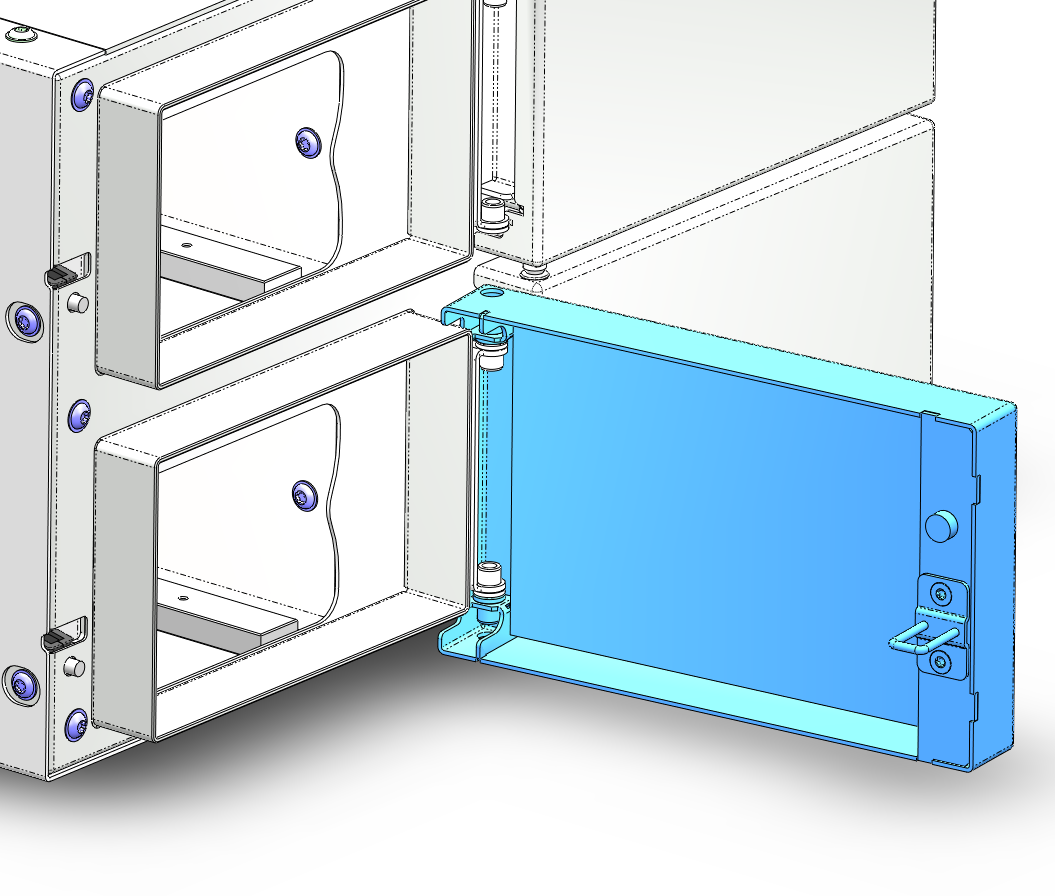
1. Door Removal from the Module
Door removal must begin with either the upper-left or upper-right door only.
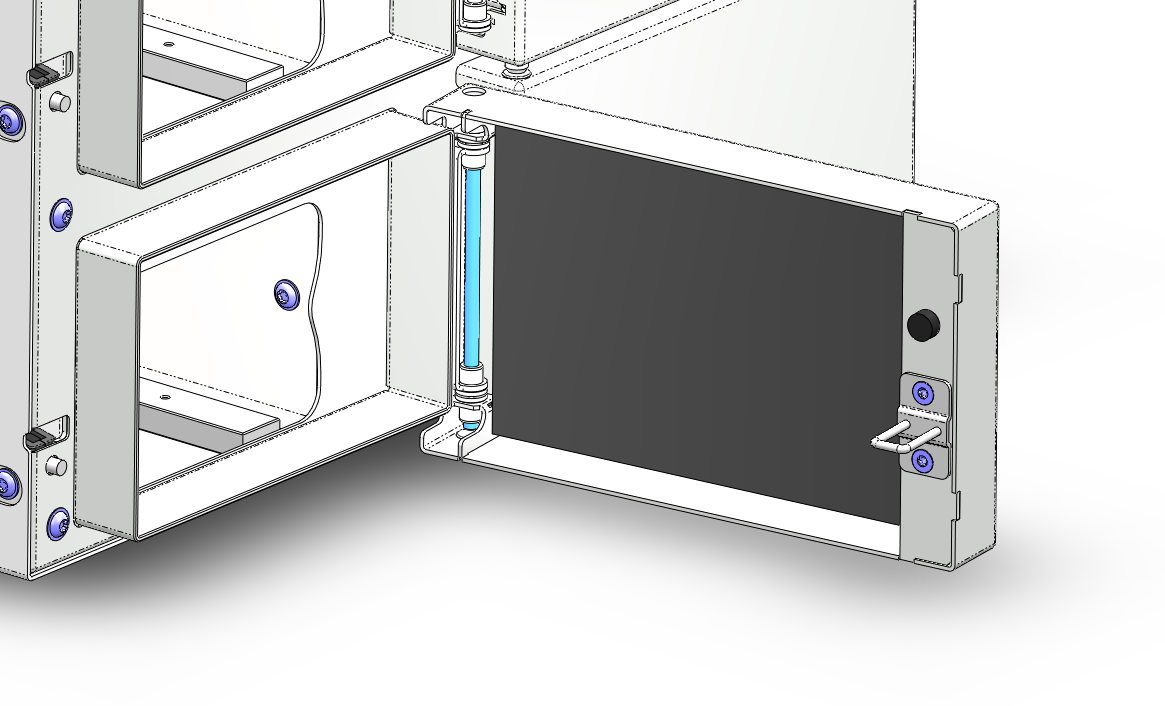
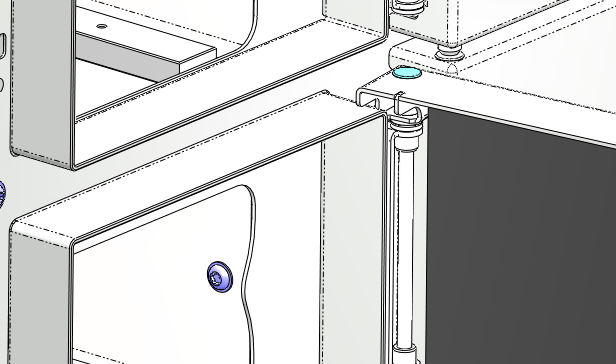
Using a thin tool, gently pry out the blind plug (if undamaged, it may be reused).
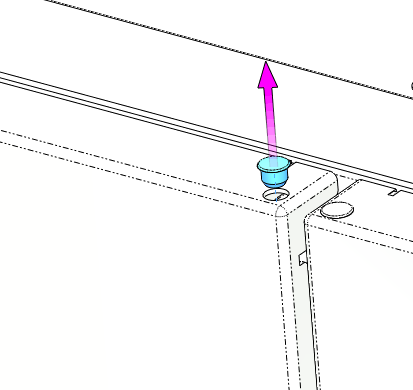
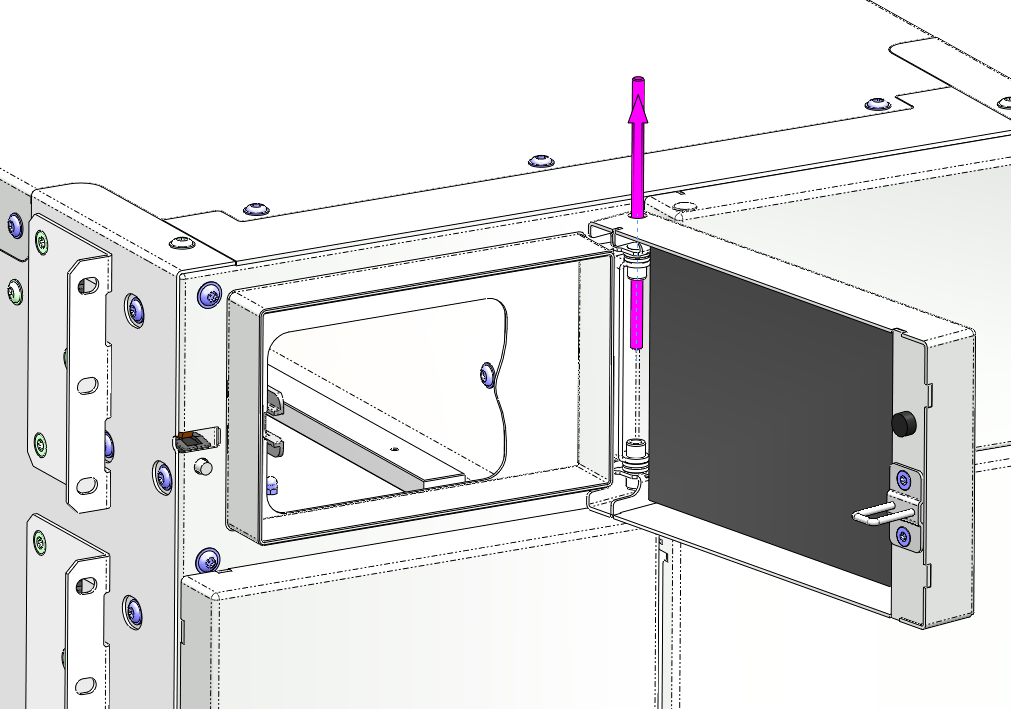
Open the slot door using the slot-opening tool or a small flat-head screwdriver. Grip the hinge pin with flat-nose pliers and slide it upward through the hole. Place the removed door in a safe location to avoid scratching its outer surface.
Repeat the same steps for the lower doors.
For lower doors, the hinge pin must be pushed upward through the upper hinge bracket.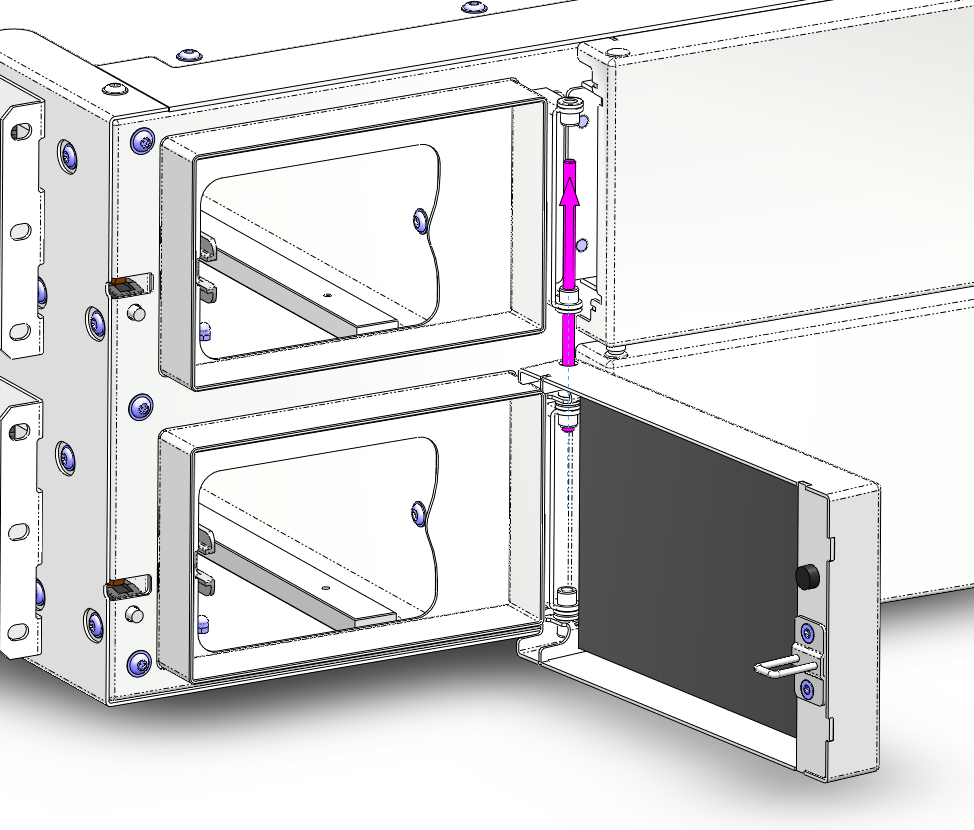
On the opposite side of the module (slot doors), the procedure is identical.
2. Door Inspection and Preparation for Installation
Each door must have the sealing gasket (00002696A) installed to function correctly.
If missing, clean and degrease the surface, then install (adhere) the gasket.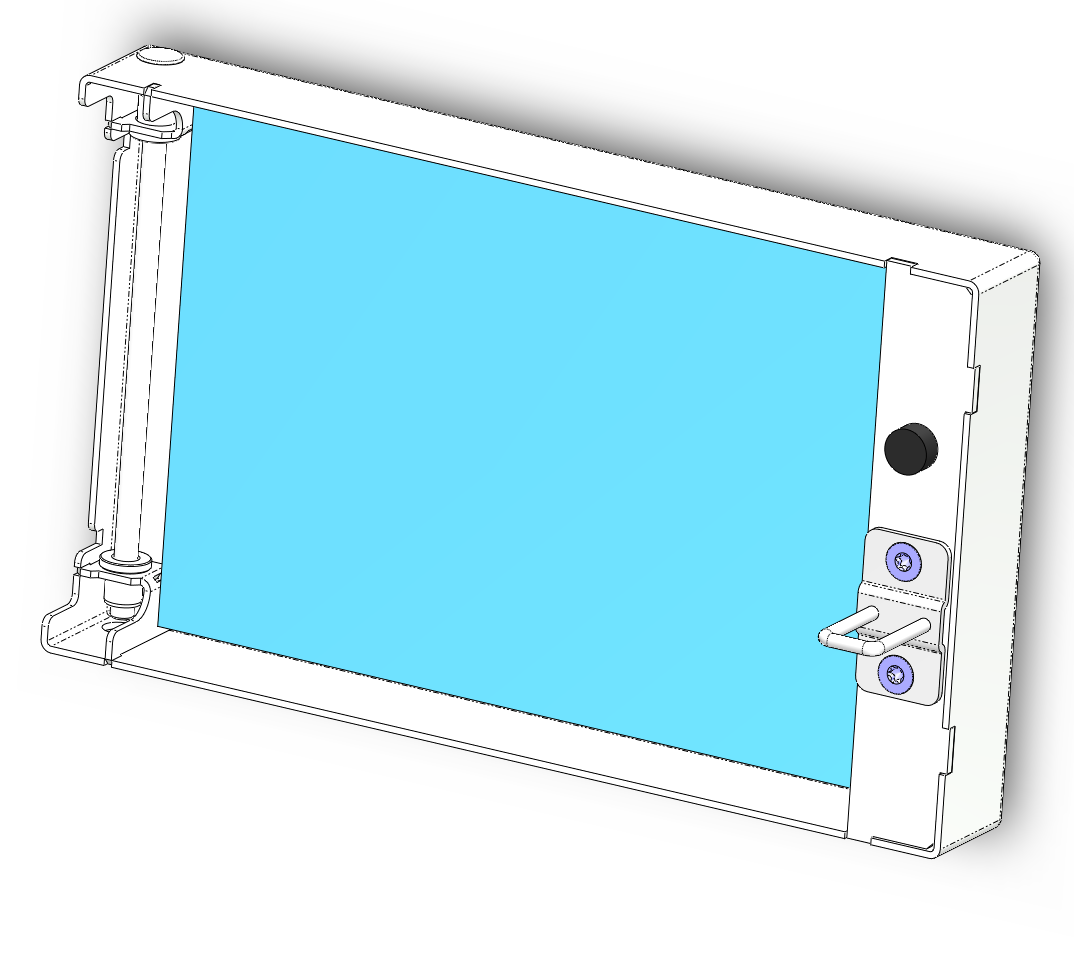
Check the condition of the slide bearings and hinge pins.
If they are undamaged, they can be reused.
3. Door Installation
Install the doors in reverse order: start with the lower doors.
Position the door on the hinge.
Insert the hinge pin from the top through the upper hinge.
Secure the hinge pin in the bottom part of the door using a blind plug to prevent it from sliding out.
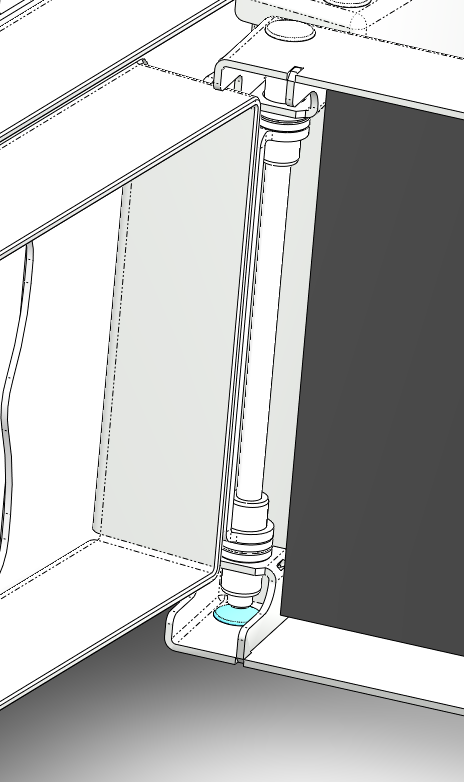
Install the blind plug on the top side as well.
Then install the upper doors:
Insert the hinge pin from the top.
Secure the bottom of the pin with a blind plug to prevent it from falling out.
Insert the top blind plug.
4. Final Check
Test door functionality by opening and closing each door to ensure smooth operation.